- Home
- New Designs
- On Sale
-
Themes
-
Tutorials
- Blog
- Help & FAQ
- Contact Us


Can you imagine all the possibilities using Cotton Rope to create Amazing Projects? Family time around the dinner table is so Special that we decided to create placemats for this everyday yet Precious time with Family and Friends.
* Why not embroider 4 to 8 and gift as a set:-)
You Need (in order of use):
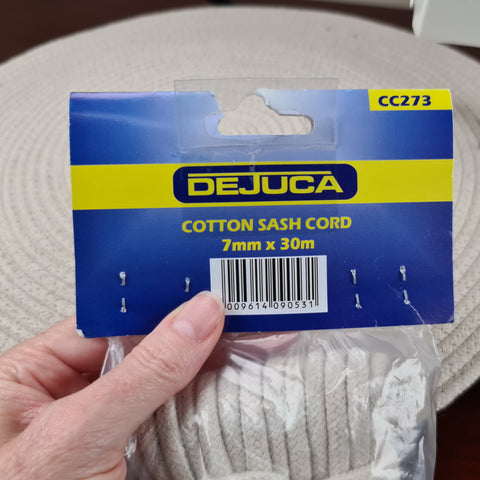
The cord should be soft and flexible to make it easy for your embroidery machine to stitch through.

Start by coiling the rope (clockwise) 1" to 2" in diameter


With a straight stitch on your sewing machine, stitch from 1 end to the opposite end. This should hold the coil.

Cut away the loose threads.

Set your sewing machine to a zigzag stitch 1/8" (5mm) x 3/32" (3mm)

Insert the coil under the presser foot with the end of the rope on your right side.
Stitch slowly to ensure the presser foot stays centered and turn your coil as it gets bigger and bigger.


Keep sewing until the placemat is the size you would like. An average placemat is 12" to 15" in diameter and a coaster 3.6" to 4" in diameter.


Once you are happy with the size, cut the rope. Push the end of the rope underneath the placemat. (This will form the back of the placemat). Secure the end with a zigzag stitch.

Optional: We added bias binding to match the embroidery. You can omit this step if you desire and proceed with the embroidery.

Use matching top and bottom thread.

Use a straight stitch to sew the bias binding.

To finish the end, cut the bias binding to overlap approx 1". Fold the tail end and secure with a straight stitch.

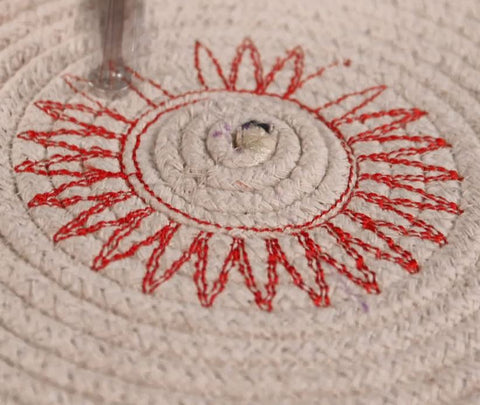
Embroidery: Use the center of the placemat as your center point. We included files for you to Multi-Hoop. In this case you would make center markings to hoop and stitch one half of the design. Then hoop and stitch the matching design to create a complete circle.

Hoop water-soluble stabilizer and spray the back of your project with temporary adhesive spray. Secure the design in the hoop.

Ensure your embroidery machine start position is in the center of your project.

Embroider the Design. Start on a slower speed and increase the speed as your embroidery machine allows.
Once the embroidery is finished stitching, remove from the hoop and cut away the excess stabilizer. Soak in water to dissolve the water-soluble. Leave to dry and your project is complete.
You have just turned a clothesline into a useful project for your Dinner table!

Enjoy creating Unique projects and we look forward to see your creations.
Happy stitching!
Annemarie
e-mail: annemarie@astitchahalf.com
CLICK HERE to see our full range of Mandala designs to choose from.
Please join our Facebook Group where we inspire one another on Machine Embroidery and where you will find info on New Designs, Free Designs, Promotions and more.
https://www.facebook.com/groups/784435555820469

Comments will be approved before showing up.

This tutorial demonstrates a placemat stitched in 2 hoopings (two halves). The same alignment technique can be used for designs requiring 4 hoopings.

Stitch a fabric basket — a structured, free-standing organiser.

Choose one size — A, B, C, or D — and stitch all panels for that size before moving to assembly.


Annemarie le Roux
February 10, 2022
Thank you so much for your review Linda. We are looking forward to seeing some photos of your project. All of the very best. Your friend, Annemarie. Ps. remember I am just an email away.