• Wishlist
  • Sign Up
  • Log in
  • Cart (0)
  • Checkout
  • Home
  • New Designs
  • On Sale
  • Themes 
    • All In The Hoop
    • Bundles
    • Earrings
    • Hexagon Quilting
    • Mug Rugs
    • Necklines and Collars
    • Nerdy Herd
    • Seamless Repeat Patterns
    • Timeless Moments
  • Tutorials 
    • Photo Tutorials
    • Video Tutorials
  • Blog
  • Help & FAQ
  • Contact Us
FanBroidery Blog

How to: DIY Greeting Card by Annemarie

February 15, 2022 2 Comments

How to: DIY Greeting Card by Annemarie
How does it make you feel when you receive a Thank You card? It is easy to make a heart warming card on your Embroidery Machine, and it is fun!
Design used in this project:

Tri Wreath Combo

You need (in order of use):
  • Pencil and Ruler
  • Paper (we recommend a heavy-weight cardstock) 
  • Scissors (and optional craft scissors eg zigzag)
  • Cut-away stabilizer
  • Temporary adhesive spray ( eg 505 spray for embroidery machines)
  • Embroidery Thread
  • Contrast paper (to cover the inside of your card and hide the back of the embroidery)
  • Paper glue

  • Use your pencil and ruler to mark out 11" x 8"
  • Cut to size and fold in half to create a card 71/2" x 51/2"
  • Determine the front of the card
  • Hoop your stabilizer and use the temporary adhesive spray to keep the paper in place while stitching on the front of the card

  • Remove the design from the hoop and cut away the excess stabilizer from the back of the design.
  • Cut your contrast paper to measure 10 1/4" x 71/4"
  • Use paper glue to stitck the contrast paper to the inside of your card. This will also cover the back of the design.

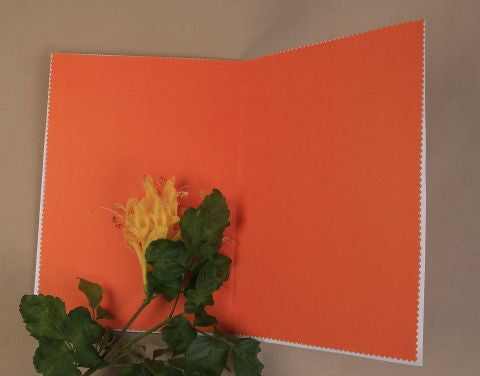
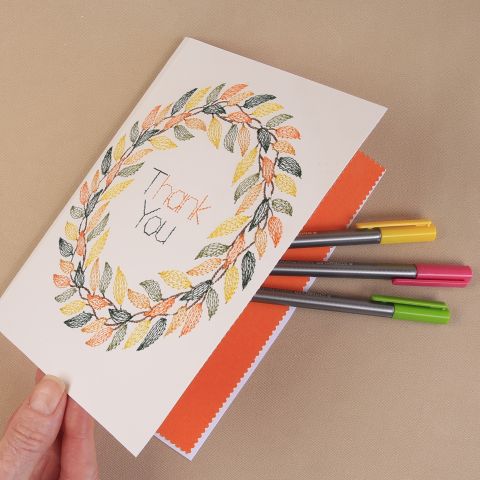
Your card is done. Enjoy making someone smile with a personalized card!

We look forward to see your projects and creations with our designs. Send them to my personal e-mail or post them to our facebook page Facebook Group 
Happy stitching!
Annemarie
annemarie@astitchahalf.com


Tweet Share Pin It Email

2 Responses

Annemarie
Annemarie

February 16, 2022

Thank you very much Bobbie. We would love to see photos of your project of this design if you decided to create a card with the designs. We hope we inspired you. lol Kind regards, Annemarie

Bobbie
Bobbie

February 16, 2022

Looks really interesting!

Leave a comment

Comments will be approved before showing up.


Also in FanBroidery Blog

How to: Make the Stitch & Gather Basket

March 30, 2026 1 Comment

Choose one size — A, B, C, or D — and stitch all panels for that size before moving to assembly.

Continue Reading

How to: Make Freestanding Lace Lanterns

March 18, 2026

assemble your lantern using a sewing machine, hand stitching, or a glue gun—choose the method you’re most comfortable with.

Continue Reading

Customer Project: Timeless Moments Quilt by Judy from Georgia, USA

March 15, 2026 3 Comments

Judy has such a special place in her heart for the Timeless Moments boys and girls — and honestly, don't we all? Those little faces just capture you completely!

Continue Reading

Let's be friends
  • Join us on Facebook
  • Join us on Groups.io
Get the NEWSLETTER

Terms of Use

Terms and Conditions

Privacy Policy

About us


© 2026 aStitch aHalf. Copyright All rights reserved. Powered by Shopify

Amazon American Express Apple Pay Diners Club Discover Google Pay Mastercard PayPal Shop Pay USDC Visa