

- Home
- New Designs
- On Sale
-
Themes
-
Tutorials
- Blog
- Help & FAQ
- Contact Us


Step 3. Fold batting inside the fabric (sandwiched) – embroidery adhesive spray will keep all in place.


Step 20. Rear view after excess fabric has been cut away. 

Step 22. Satin outline complete.
Step 23. Remove design from hoop.
Step 24. Cut away all excess water-soluble stabilizer.
Step 25. Rear view after all excess water-soluble stabilizer has been cut away. 
Step 26. With sharp scissors cut open the stabilizer in the center.
Step 27. Be very careful, not to cut through the back panel.
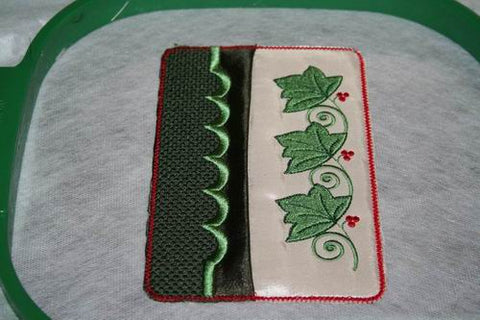
Step 28. Your “In-The-Hoop” Tissue Pocket is complete.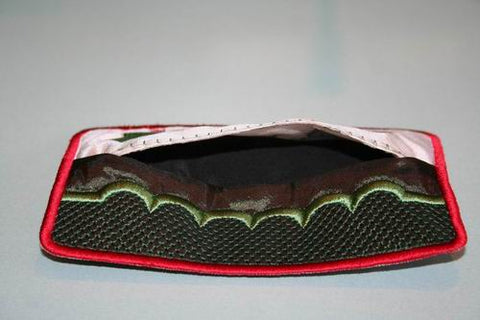
Step 29. Insert Tissues and you have a beautiful and practical gift.

Comments will be approved before showing up.

Stitch a fabric basket — a structured, free-standing organiser.

Choose one size — A, B, C, or D — and stitch all panels for that size before moving to assembly.

assemble your lantern using a sewing machine, hand stitching, or a glue gun—choose the method you’re most comfortable with.


Sandra Navarrete
January 06, 2026
Can we download the instructions for the tissue pocket?