

- Home
- New Designs
- On Sale
-
Themes
-
Tutorials
- Blog
- Help & FAQ
- Contact Us


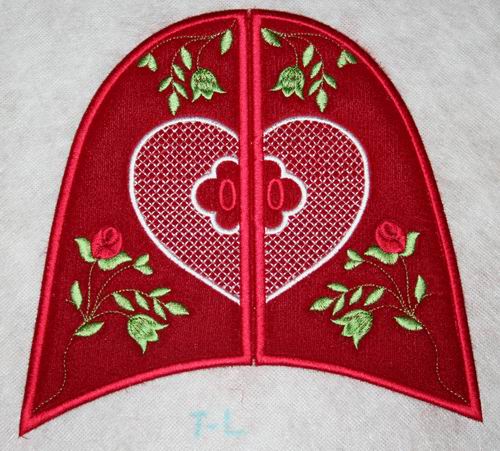
My friend Rosemary created a beautiful wall hanging from the "Winter Tears Quilt Block Combo". "I just love the soft pink colors you used to create this charming hanging quilt Rosemary. It is no wonder folks want to buy it from you. Well done my friend. You are a star. Annemarie"
Come and make Slippers with us with this Step by Step "Slippers Tutorial".
Step 1:
1st Color stop will indicate where the fabric and batting must be placed...


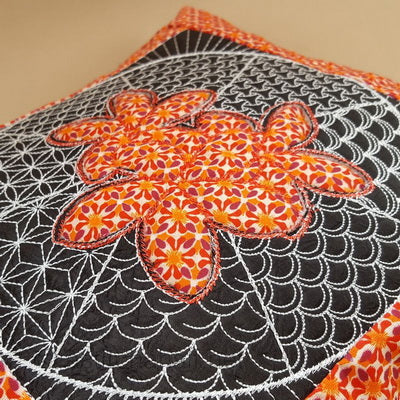
My friend Marrilyn emailed me (a little while ago) this beautiful Pillow she made from our Feathers Latte Pillow Quilt Combo.
To Make a Pillow which uses the 8*8 Hoop Design You will Need:
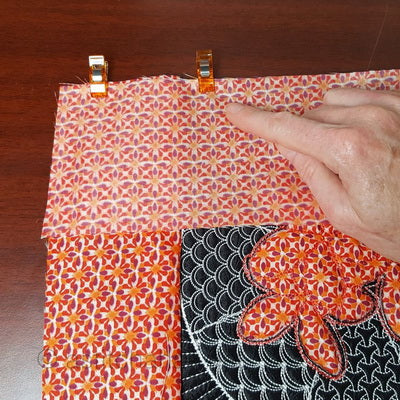
How To: Make a Decorative Pillow Sleeve Photo Tutorial
To make the Pillow Sleeve:


