Good news, friends! Every machine format you need is included with your purchase — ART, DST, EXP, HUS, JEF, PCS, PES, VIP, VP3, and XXX

  • Wishlist
  • Sign Up
  • Log in
  • Cart (0)
  • Checkout
  • Home
  • New Designs
  • On Sale
  • Themes 
    • All In The Hoop
    • Earrings
    • Hexagon Quilting
    • Mug Rugs
    • Necklines and Collars
    • Nerdy Herd
    • Seamless Repeat Patterns
    • Quilt Bundles
  • Tutorials 
    • Photo Tutorials
    • Video Tutorials
  • Blog
  • Help & FAQ
  • Contact Us
  • Home
  • New Designs
  • On Sale
  • Themes 
    • All In The Hoop
    • Earrings
    • Hexagon Quilting
    • Mug Rugs
    • Necklines and Collars
    • Nerdy Herd
    • Seamless Repeat Patterns
    • Quilt Bundles
  • Tutorials 
    • Photo Tutorials
    • Video Tutorials
  • Blog
  • Help & FAQ
  • Contact Us

FanBroidery Blog

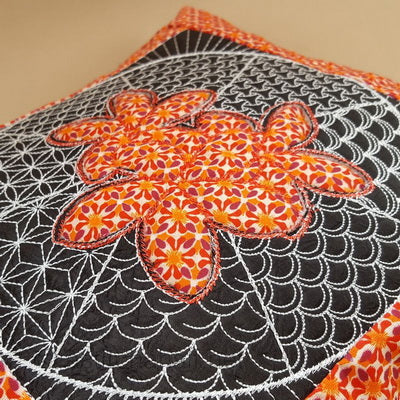
How To: Do Reverse Applique

October 25, 2019 1 Comment

To Make a Pillow which uses the 8*8 Hoop Design You will Need:
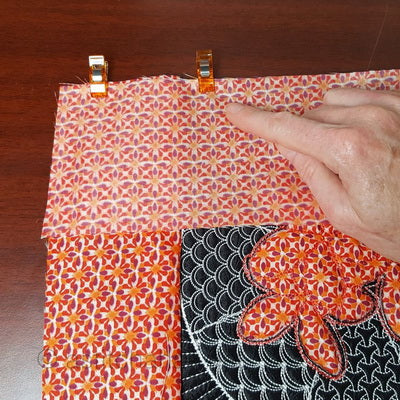
  • 1 or 2 layers cut away stabilizer

Continue Reading

How To: Make a Decorative Pillow Sleeve

October 25, 2019

How To: Make a Decorative Pillow Sleeve Photo Tutorial

 To make the Pillow Sleeve:
Continue Reading

Ruth's Mayumi Japanese Tote Project

October 22, 2019

My friend Ruth created this stunning Tote Bag from our Mayumi Japanese Tote and Quilt Blocks set. 

Continue Reading

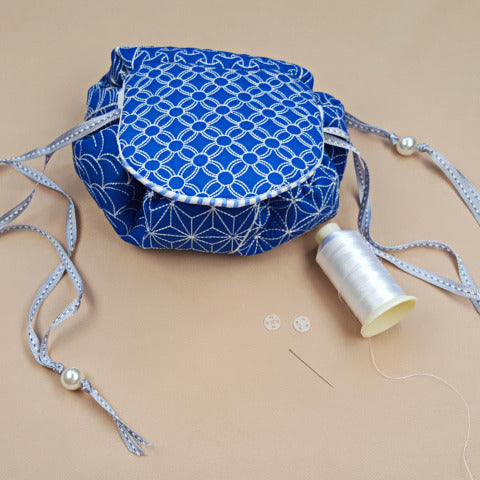
How to: Make the Japanese Sashiko Circle Bag

October 21, 2019 1 Comment

We used the Japanese Sashiko Circle bag to create this tutorial. You can create all the circle bags with this tutorial.

To make this Fully Lined Circle Bag You Need:

  • 1 or 2 layers cut away stabilizer (per hooping)
  • Optional: Thin layer of batting – per hooping
  • ½ Yard plain fabric (front and back)
  • ½ Yard contrast fabric (for the lining)
  • Bias Tape for the Drawstring (approx. 46” cut in half x 4” wide) We used Store Bought Bias Tape
  • Ribbon or String (approx. 104” cut in half x 1 to 2” wide)
  • Temporary Adhesive Spray eg. 505 Spray
  • Embroidery Thread
  • Scissors
  • Snap Fastener x 1 (Size 3 / 0.5”)
  • Sewing Needle to hand stitch the Snap Fastener
  • Optional: Embellishment eg. We added a tiny pearl on each end of the ribbon


Embroidery:

  • Hoop your stabilizer
  • Stitch the 1st Color Stop
  • Place the fabric to cover the outline
  • Stitch out the design

When The design is stitched, turn hoop over, add lining to the back and stitch the last color stop.
Please note: The individual pieces will not be lined in the hoop, but after all 8 panels are joined.


Cut a 1” seam allowance once the embroidery is removed from the hoop.

The lining for the Flap will be placed ON TOP/FRONT of the hoop, as you will be turning the flap inside out.

With a straight stitch on your sewing machine, sew the flap to the inner circle

You can make your own Bias tape or use store bought bias tape. We joined 2 x 2” wide bias tape to have the desired 4” wide Bias Tape. (approx. 46” cut in half x 4” wide)


Iron bias tape flat and cut the ends. Divide each strip in half and mark with a pin. (23” strips x 2)

The flap will be the front, so start pinning the bias tape from the left to the right side of the flap (see image below)
Overlap the 2 sections of bias tape slightly to cover the raw edges. Secure with a straight stitch.

Fold Bias Tape over to the Back (or lined section) pin and secure with a straight stitch.

Insert your cord or ribbon from the 1 end and out the same side where you started. Do the same for the opposite
side.

Add an embellishment if you desire. We added a little pearl.

Attach the snap fasteners as shown below and your Circle Bag is Complete!

Enjoy stitching!

Continue Reading

Patty's "Totely Lace Tote" and small bag for Allene

October 20, 2019

My friend Patty sent me this photo of a magnificent project she made for a friend. 

Continue Reading

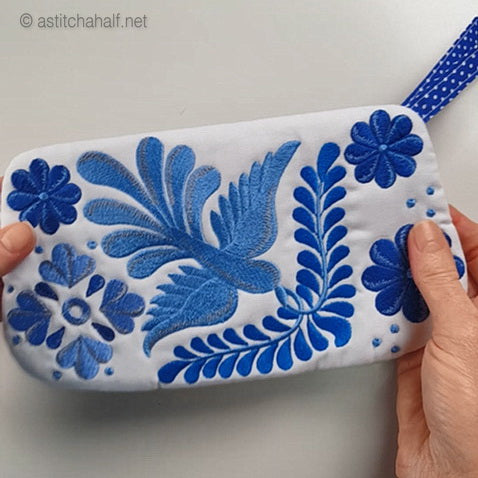
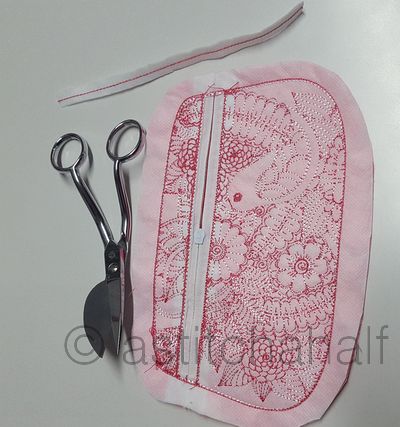
How to: Make a Fully Lined Wrist Clutch in your Hoop

October 16, 2019 1 Comment

To make this Double Sided and Fully Lined Wrist Clutch You Need:

  • 1 or 2 layers cut away stabilizer (measure according to hoop size)

Continue Reading

Rosemarie's Blue Ribbon Projects

October 07, 2019

My friend Rosemary sent us the photos of the projects where she won prizes for her projects of our designs. I am so happy for her and just love the projects.

Continue Reading

Ashley's Project of Simple Accent Lily Combo at astitchahalf

September 27, 2019

Every now and then one of our friends surprise us with photos of their latest project of our designs.

See Ashley's photos of her beautiful project of our 
Simply Accent Lily Combo

Continue Reading

How To: Make the Wrist Clutch and the Fold-over Clutch Purse

September 25, 2019 1 Comment

How to make the Wrist Clutch and the Fold-over Clutch Purse.

1. Hoop cut-away stabilizer. Stitch out the 1st color stop
This step will indicate where the zipper center should be placed.

Continue Reading

How To: Make the Whispering Roses Box

August 07, 2019 2 Comments

This is a Step by Step photo Tutorial on how to make the Whispering Roses Boxes. This tutorial can also be used on the following boxes too:

Continue Reading

How to: Make a Tote Bag with Pockets by Annemarie

August 04, 2019

Follow this Step by Step Photo Tutorial on how to make your favorite Fuzzy Tote bag with pockets.

Continue Reading

How to: Make an Eyeglass Case "All in the Hoop" by Annemarie

July 20, 2019 2 Comments

All In The Hoop Machine Embroidery Projects are fun, Easy and Now Sewing is required...Start by hooping your stabilizer. Stitch out the 1st color stop. Place 1 x layer of BATTING+FABRIC on top of the OUTLINE. Use embroidery adhesive spray to keep the fabric in place while stitching...

Continue Reading

Previous 1 … 10 11 12 13 14 Next
Let's be friends
  • Join us on Facebook
  • Join us on Groups.io
Get the NEWSLETTER

Terms of Use

Terms and Conditions

Privacy Policy

About us


© 2026 aStitch aHalf. Copyright All rights reserved. Powered by Shopify

Amazon American Express Apple Pay Diners Club Discover Google Pay Mastercard PayPal Shop Pay USDC Visa